Category: Automation & Integrations

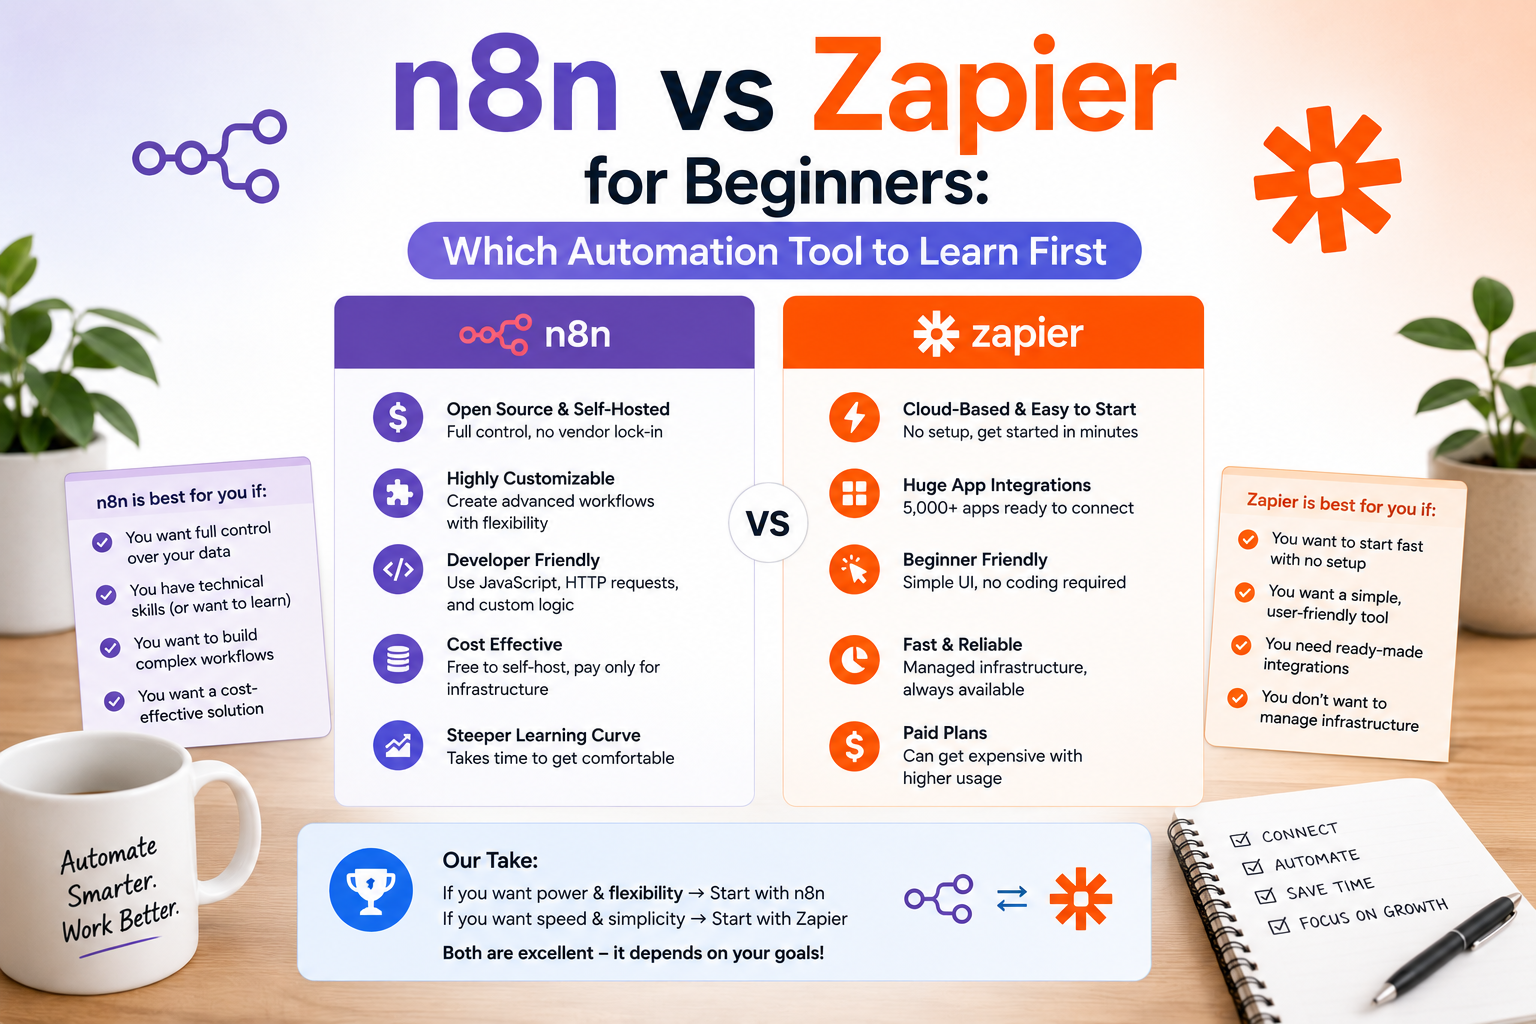
  • N8N vs Zapier for Beginners: Which Automation Tool to Learn First

    N8N vs Zapier for Beginners: Which Automation Tool to Learn First

    If you’re picking your first automation tool, the choice usually comes down to n8n and Zapier.

    Both can connect your apps and eliminate repetitive manual work, but they’re built for different kinds of users, and the “right” one depends less on which is objectively better and more on how much technical comfort you’re starting with – and how much you expect to automate down the road.

    Here’s how they actually compare for someone starting from zero.

    The short answer

    Zapier is the easier starting point for non-technical beginners. It’s cloud-only, has a simple point-and-click, trigger-and-action builder, and connects to thousands of apps out of the box. You can build a working automation in your first sitting with no learning curve.

    n8n has more of a learning curve — it uses a visual, node-based canvas and expects some comfort with concepts like JSON data — but it’s more flexible, can be self-hosted for free, and tends to be far cheaper once you’re running a meaningful volume of automations.

    If you want to be automating something useful within the hour, start with Zapier. If you’re comfortable with a bit of a technical ramp-up and want a tool that scales with you long-term without costs climbing fast, n8n is worth the extra initial effort.

    How they’re actually different

    Ease of use

    Zapier’s interface is built around a simple idea: pick a trigger, pick an action, connect the two. There’s very little to learn conceptually, which is why it’s widely considered the most beginner-friendly option in the category.

    n8n uses a canvas where you drag and connect nodes to build a workflow visually. It’s more powerful — you can branch logic, transform data, and chain complex multi-step flows — but that power comes with more surface area to learn, especially around how data passes between nodes.

    Integrations

    Zapier connects to several thousand apps natively, which matters a lot as a beginner: whatever tool you use is probably already supported with a guided setup.

    n8n ships with several hundred native integrations, but it can connect to virtually anything else via a generic HTTP request node — you just need to be comfortable pointing it at an API, which is a more technical step than Zapier typically requires.

    Pricing model — this is the part that surprises people

    This is the single biggest difference, and it’s not just about the sticker price — it’s about how each tool counts usage.

    • Zapier bills per task, where every individual action step in a workflow counts separately each time it runs. A five-step automation that runs a thousand times can consume thousands of billed tasks, so costs climb quickly once your workflows get longer or run often.
    • n8n bills per execution, where an entire workflow run — no matter how many steps it contains — counts as a single execution. A twenty-step n8n workflow processing the same volume of work can cost meaningfully less than the Zapier equivalent.

    For a beginner running a handful of simple automations, this difference barely matters. It becomes significant once you’re running many multi-step workflows regularly — which is often the point where people who started on Zapier look at switching.

    Self-hosting

    Zapier is cloud-only; there’s no option to run it yourself. n8n can be self-hosted for free (you cover your own server costs, often just a few dollars a month), which is a major cost advantage for technically comfortable users, though it adds setup and maintenance you won’t have with Zapier’s fully managed service.

    Who each tool is really built for

    Zapier is built for non-technical users who want automation working today, without writing code or thinking about infrastructure. n8n is built for people comfortable with a slightly more technical tool in exchange for more control, more flexibility, and meaningfully lower costs at scale.

    A simple way to decide

    Ask yourself two questions:

    1. Am I comfortable with a short learning curve in exchange for more flexibility and lower long-term cost? If yes, lean n8n. If you’d rather start automating in the next ten minutes with zero setup, lean Zapier.
    2. How much am I likely to automate? A handful of simple, occasional automations rarely justify the extra learning curve of n8n — Zapier’s simplicity wins. If you can already picture dozens of workflows running regularly across your business, n8n’s pricing model will save real money as you scale.

    Many people also end up using both over time: starting on Zapier to validate that a given automation is worth building, then migrating cost-heavy or complex workflows to n8n once volume justifies the switch.

    Frequently Asked Questions

    Is n8n harder to learn than Zapier?

    Yes, generally. Zapier’s guided trigger-and-action interface requires little to no technical background. n8n’s node-based canvas and JSON data handling ask more of a beginner, though its learning curve has been getting gentler as the platform’s interface has improved.

    Is n8n really cheaper than Zapier?

    It depends on your usage pattern. For light, occasional use, the two are often comparable in cost. For frequent, multi-step automations, n8n’s per-execution billing tends to come out significantly cheaper than Zapier’s per-task billing, and self-hosting removes subscription costs entirely (beyond your own server).

    Can n8n do everything Zapier can do?

    For most common workflows, yes — either through a native integration, a community-built node, or a generic HTTP request to the target app’s API. The difference is effort: Zapier’s integrations are typically more plug-and-play, while n8n sometimes requires a more hands-on setup for less common apps.

    Do I need to know how to code to use either tool?

    No, not for either one at a beginner level. Both are visual, no-code builders by default. n8n does offer optional code nodes (JavaScript/Python) for advanced logic, which Zapier also supports in a more limited form, but neither requires coding to get started.

    Final thoughts

    There’s no universally “better” tool here — just a better fit for where you’re starting from. If you want the fastest path to your first working automation, start with Zapier. If you’re willing to spend a bit more time learning up front in exchange for more flexibility and a pricing model that scales better, n8n is worth the investment. Either way, the real skill you’re building — thinking in triggers and actions — transfers directly if you ever decide to switch.
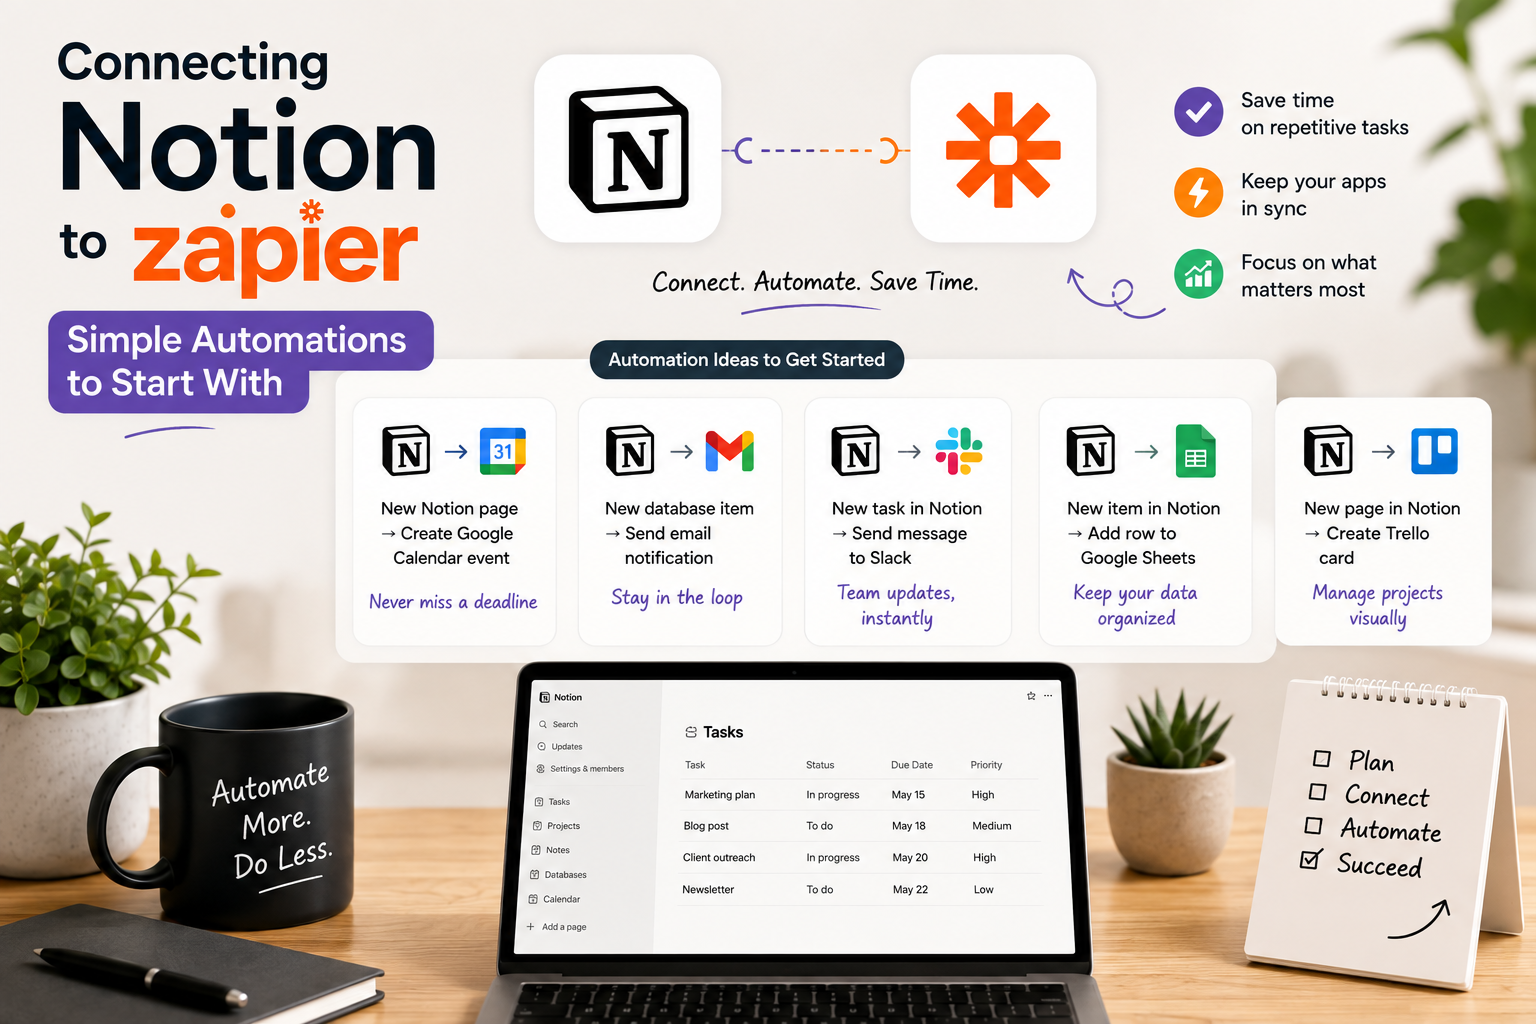
  • Connecting Notion to Zapier: Simple Automations to Start With

    Connecting Notion to Zapier: Simple Automations to Start With

    Notion is great at holding information. Zapier is great at moving it. Put them together and you can stop manually re-typing the same task, lead, or note into three different tools every day.

    If you’ve never connected the two before, this is a practical starting point: what the integration can actually do, a handful of beginner-friendly automations to build first, and a few limitations worth knowing before you get too far into it.

    What the Notion-Zapier connection can actually do

    Zapier’s Notion integration gives you a set of triggers (events in Notion that start a workflow) and actions (things Zapier does in Notion, or elsewhere, once triggered).

    The most useful triggers to know:

    • New database item — fires when a new item is added to a database you specify
    • Updated database item — fires when an existing item’s properties change
    • New comment — fires when someone comments on a page
    • Page content updated — fires when the content within a page changes

    And on the action side, the ones you’ll reach for most often:

    • Create database item — adds a new item to a specified database
    • Update database item — changes properties on an existing item
    • Add content to page — appends new blocks (paragraphs, headings, to-dos, and more) to an existing page
    • Find database item — searches for an existing item, often used to check whether something already exists before creating a duplicate

    Everything below is really just different combinations of those triggers and actions.

    Three simple automations to start with

    1. Turn form submissions into Notion database items

    If leads, applications, or requests come in through a form (Typeform, Google Forms, your website’s contact form), you can skip the copy-paste step entirely.

    • Trigger: New form submission
    • Action: Create database item in Notion, mapping the form fields to your database’s properties

    This is usually the very first automation people build, because the win is obvious and the setup takes only a few minutes.

    2. Sync new Notion tasks to your calendar

    Covered in more depth in our Notion-Google Calendar guide, but worth mentioning here too: this is one of the most common Notion-Zapier pairings.

    • Trigger: New database item in your Tasks database
    • Action: Create a detailed event in Google Calendar, using the task’s due date and title

    3. Get notified when something important changes

    Rather than checking a Notion database manually to see if a status changed, let Zapier tell you.

    • Trigger: Updated database item (filtered to a specific database, and ideally a specific property, like a “Status” field)
    • Action: Send a Slack message or email notifying you of the change

    This pattern — trigger on update, notify a human — is one of the simplest ways to keep a team in the loop without anyone needing to babysit a Notion page.

    A few things to know before you build

    Field limits exist. Notion’s API caps each content block at 2,000 characters, so very long text pushed in from another app may get cut off or need to be split across multiple blocks.

    Rate limits apply. Zapier’s Notion integration is limited to a few requests per second on average, which matters if you’re bulk-importing a large number of items at once — it may take longer than you’d expect.

    Multi-select fields get overwritten, not appended. If your automation updates a multi-select property, it replaces the existing values rather than adding to them. If you need to preserve existing tags or categories, you’ll need an extra step to read the current values first and merge them in.

    Editing page content doesn’t trigger “new item” automations. If your workflow depends on detecting changes to a page’s actual content (not its database properties), double check which trigger you’re using — some triggers only fire on property changes, not content edits.

    When you might not need Zapier at all

    Notion has been building out its own native automations (things like scheduled reminders and simple conditional actions triggered from within Notion itself). If your entire workflow starts in Notion and ends in Notion or Slack — no other app involved — it’s worth checking whether Notion’s built-in automations can now handle it natively before reaching for Zapier. For anything that needs to cross into a third-party app like Google Calendar, your CRM, or a form tool, Zapier is still doing work Notion can’t do on its own.

    Final thoughts

    You don’t need to plan out a dozen workflows before you start. Pick the one manual copy-paste task that annoys you most, build a single trigger-and-action Zap for it, and get comfortable with how Notion’s triggers and actions behave. Once that one is running reliably, the next automation is usually obvious.

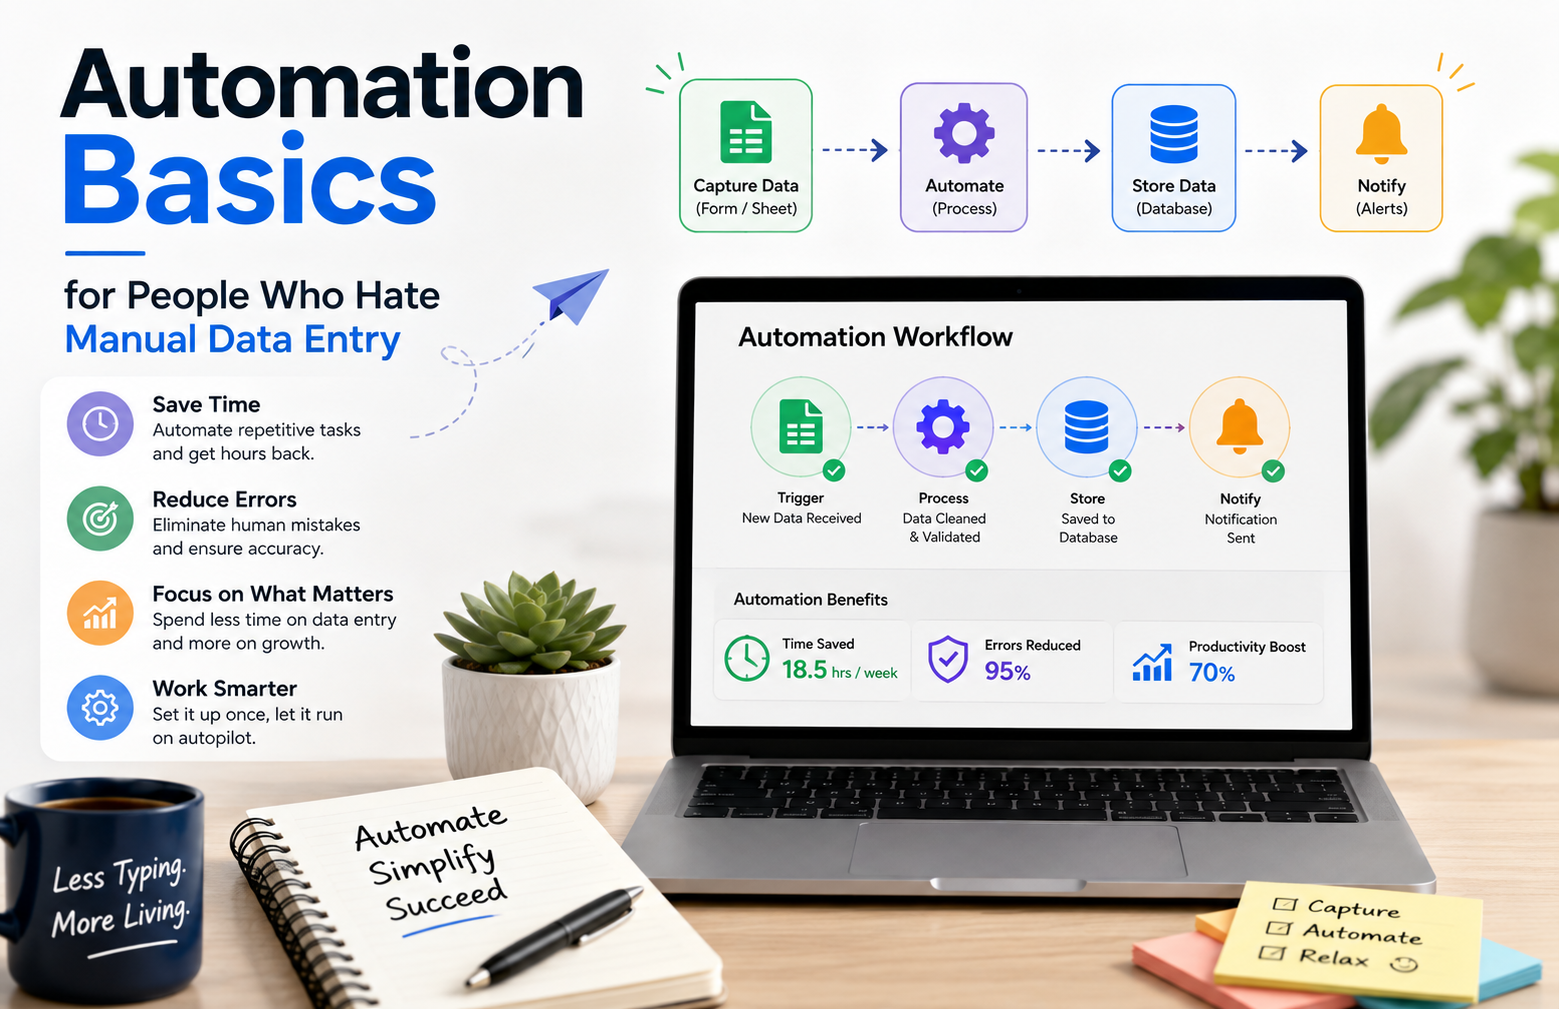
  • Automation Basics for People Who Hate Manual Data Entry

    Automation Basics for People Who Hate Manual Data Entry

    Somewhere in your workday, there’s a task that goes like this: copy a value from one app, paste it into another, maybe reformat it a little, then do it again for the next row.

    Multiply that by every new lead, every invoice, and every form submission, and it adds up to hours of work that a computer could be doing instead.

    This is the case for automating manual data entry — not the flashy, “AI will replace your job” kind of automation, but the boring, reliable kind that just moves information from where it’s created to where it needs to live.

    Why manual data entry is worth automating first

    If you’re new to automation and wondering where to start, data entry is usually the best first target for three reasons:

    • It’s repetitive and rule-based. If you can describe the copy-paste task in one sentence (“when a new order comes in, add a row to my spreadsheet”), a machine can do it.
    • It’s error-prone. Manual entry introduces typos, skipped rows, and inconsistent formatting — problems that don’t exist once a computer is doing the transcription.
    • It’s low-risk to automate. Compared to automating a judgment call or a customer-facing decision, moving data from A to B rarely needs a human’s discretion.

    The core building block: triggers and actions

    Nearly every automation, no matter how complex, is built from the same two pieces:

    • A trigger — the event that starts the automation (“a new row is added,” “a form is submitted,” “an email arrives with a certain subject”)
    • An action — what happens as a result (“create a record”, “send a message”, “update a spreadsheet cell”)

    Once you can name the trigger and the action for a task you’re doing by hand, you’ve basically already designed the automation. The tools just handle carrying it out.

    Where automations actually run

    You don’t need to write code to automate data entry. A few categories of tools handle this well:

    No-code automation platforms (Zapier, Make, n8n) connect thousands of apps through a visual, trigger-and-action interface. You pick a trigger app and event, pick an action app and event, and map the fields between them. These are the best starting point for most people because you can build a working automation in minutes without any technical background.

    Built-in app integrations. Many tools already talk to each other natively — a form builder that writes directly to a spreadsheet, or a CRM with a built-in email sync. Before reaching for a third-party automation platform, it’s worth checking whether the two apps you’re using already have a direct integration; it’s usually more reliable and has one less thing to maintain.

    Scripts and APIs. For more complex logic, custom formatting, or high-volume tasks, a short script (or a platform’s built-in code step) can do things a purely visual builder can’t. You don’t need this for most data entry tasks, but it’s worth knowing it exists once your needs outgrow simple field mapping.

    A simple framework for automating any data entry task

    When you’re staring at a repetitive task and wondering if it can be automated, work through these questions:

    1. What starts the task? This is your trigger. Be specific — “a customer fills out my contact form,” not just “someone contacts me.”
    2. Where does the data need to end up, and in what shape? This is your action, plus any formatting or field mapping you’ll need.
    3. Does anything in between require a judgment call? If yes, that step probably still needs a human, at least for now. Automate everything around it, and let a person handle the part that actually needs thinking.
    4. What happens when something goes wrong? A missing field, a duplicate entry, an unexpected format. Decide upfront whether the automation should skip it, flag it, or stop and notify you — don’t just assume the happy path.

    A common example, worked through

    Say every time someone fills out a contact form on your website, you’re currently copying their name, email, and message into a spreadsheet by hand, then also adding them to your email list.

    • Trigger: New form submission
    • Action 1: Add a new row to the spreadsheet with the submitted fields
    • Action 2: Add the submitter to your email marketing list

    This is a two-action automation you could build on a no-code platform in well under ten minutes, and it eliminates a task you’d otherwise repeat for every single submission, indefinitely.

    Common mistakes to avoid

    Automating a broken process. If your current data entry steps are messy or inconsistent, automating them just makes the mess move faster. Clean up the process first, then automate it.

    Skipping error handling. New automators often build for the ideal case and forget what happens when a field is blank or a duplicate comes through. Decide how the automation should handle exceptions before you turn it on, not after something breaks silently.

    Over-automating too soon. Start with the single most repetitive, most rule-based task you do. Get comfortable with how triggers and actions work before you try to chain together a five-step automation across four different apps.

    Forgetting to test with real data. Run your automation with a handful of real (or realistic) entries before trusting it with live data. Field mapping mistakes are common and easy to catch early, expensive to catch late.

    Final thoughts

    You don’t need to be technical to stop doing manual data entry — you need to be able to name what triggers the task and what should happen next. Start with the single most repetitive copy-paste task on your plate, build a simple trigger-and-action automation for it, and let that first win show you how much time is available to reclaim across the rest of your workflow.

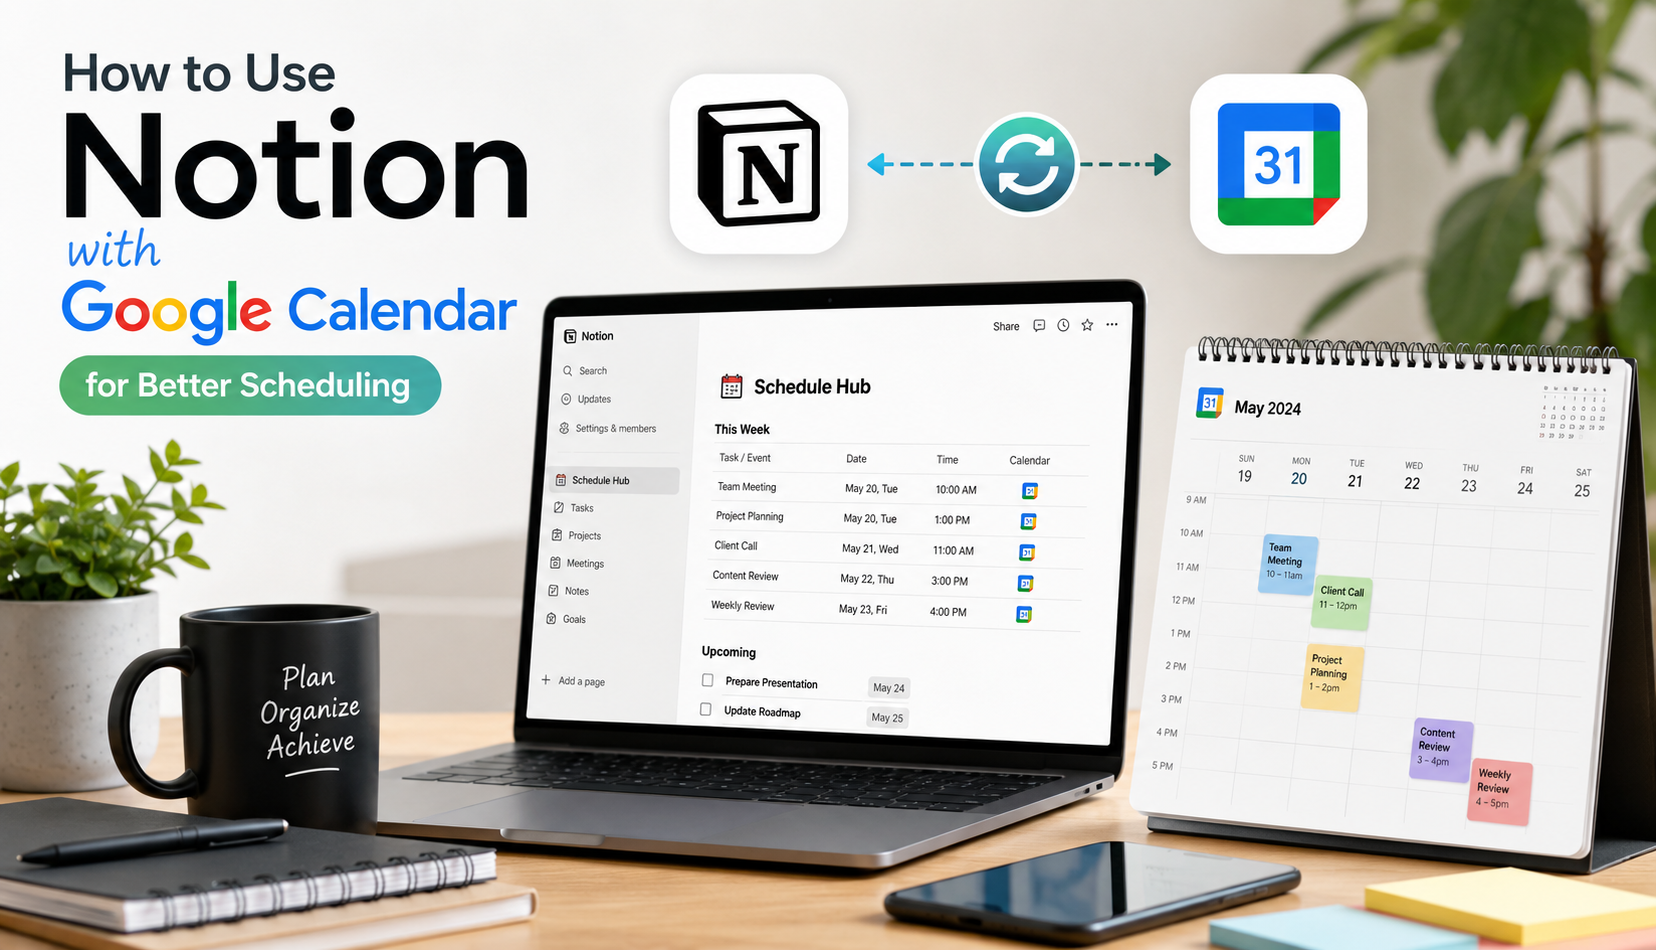
  • How to Use Notion with Google Calendar for Better Scheduling

    How to Use Notion with Google Calendar for Better Scheduling

    If you plan your work in Notion but live and die by Google Calendar, you’ve probably run into the same frustration: the two tools don’t talk to each other out of the box.

    Tasks pile up in a Notion database, meetings sit in Google Calendar, and you’re the one manually keeping them in sync.

    The good news is there are several ways to connect Notion and Google Calendar today, each with a different tradeoff between simplicity and how “connected” the two tools actually become. This guide walks through what’s possible right now, how to set each option up, and which one fits your workflow.

    First, a reality check: there’s no native two-way sync

    Notion Calendar (Notion’s own calendar app) can display your Google, Outlook, and iCloud events inside a unified view, and it lets you create and edit events that push back to those services.

    But that’s a calendar-to-calendar connection — it doesn’t touch your Notion databases. Tasks, projects, and other items sitting in a Notion database won’t automatically show up as Google Calendar events, and edits you make in Google Calendar won’t update your Notion pages, unless you build that bridge yourself.

    That’s the gap every method below is trying to close.

    Option 1: Notion Calendar (best for a unified view, not database sync)

    Notion’s own calendar app is the simplest starting point if what you want is one place to see everything.

    What it does:

    • Connects your Google, Outlook, or iCloud calendar
    • Shows all your events in a single, clean calendar view
    • Lets you create and edit events, which sync back to the connected account

    What it doesn’t do:

    • Pull items from your Notion task or project databases into the calendar automatically
    • Turn calendar events into Notion pages

    Good for: People who just want a visual overview of their schedule without switching between apps constantly. Not a fit if your goal is to have Notion tasks automatically appear as calendar events.

    Option 2: Embed Google Calendar inside a Notion page (fast, but read-only)

    If you just want your team or yourself to glance at a calendar without leaving Notion, embedding works in minutes.

    How to set it up:

    1. In Google Calendar, go to your calendar’s settings and find the public URL (under “Integrate calendar”).
    2. Copy the embed or iCal link.
    3. In Notion, type /embed and paste the URL.

    Limitations: This is a read-only iframe. You can look, but you can’t click into events, create new ones, or link them to Notion content. It’s a display trick, not an integration.

    Option 3: Automation platforms (Zapier, Make, n8n) — the flexible middle ground

    This is where most people land when they want real automation without hiring a developer. Automation platforms connect Notion databases and Google Calendar through simple trigger-and-action “recipes” (often called Zaps).

    A typical setup:

    • Trigger: A new page is added (or a property is updated) in a Notion database
    • Action: Create a corresponding event in Google Calendar, using the Notion page’s date property, title, and any other fields you map over

    For example, you could build an automation so that every time you add a task with a due date in Notion, a matching event appears on your Google Calendar automatically — no more manually copying deadlines over.

    Things to know:

    • Most no-code automations run one-way (Notion → Google Calendar, or vice versa) rather than true two-way sync. If you edit the Google Calendar event afterward, that change typically won’t flow back into Notion unless you build a second, separate automation for the reverse direction.
    • Recurring events and fields like attendees or meeting links often need extra configuration, since basic Zap templates don’t always handle them well.
    • You’ll need a Zapier (or Make/n8n) account, plus your Google and Notion accounts connected as “apps” within the platform.

    Good for: Teams that want tasks with due dates to automatically become calendar events, or calendar bookings to spin up Notion pages (e.g., client meetings that auto-create a notes page).

    Option 4: iCal feed subscription (simple, one-way, near real-time)

    A lighter-weight alternative to full automation: generate an iCal (.ics) feed from a Notion database and subscribe to it in Google Calendar.

    How it generally works:

    1. Use a Notion-to-calendar feed tool to connect your Notion account.
    2. Select the database and the date property you want to use for event timing.
    3. Generate a private calendar feed URL.
    4. Add that URL as a subscribed calendar in Google Calendar.

    Google Calendar will periodically refresh the feed (often every few hours, though some tools offer faster refresh on paid tiers). Edits stay one-way — from Notion to Google Calendar only.

    Good for: People who want their Notion planning to show up on their phone’s calendar app without maintaining an automation platform.

    Option 5: Dedicated two-way sync tools (for genuine two-way sync)

    If one-way automation isn’t enough and you actually need edits in either tool to update the other — recurring events, attendee lists, meeting links, and all — this is the category built specifically for that.

    These tools create real Notion database pages from calendar events and push Notion edits back to Google Calendar, rather than relying on a single-direction Zap.

    Good for: Teams who treat both Notion and Google Calendar as active, editable systems and can’t afford for the two to drift out of sync.

    Which option should you actually use?

    Your goalBest option
    See all your calendars in one placeNotion Calendar
    Quick, view-only calendar on a Notion pageEmbed
    Auto-create calendar events from Notion tasks (one-way)Zapier / Make / n8n
    Lightweight, near-real-time one-way feediCal subscription
    True two-way sync with full event detailsDedicated sync tool

    A simple starting workflow

    If you’re not sure where to begin, this is a reasonable default:

    1. Install Notion Calendar and connect your Google account so you can see everything in one view.
    2. Set up a Zapier automation so that new Notion tasks with due dates automatically create Google Calendar events — this solves the most common pain point (forgetting to manually add deadlines to your calendar).
    3. Upgrade to a dedicated two-way sync tool only if you find yourself constantly editing events in Google Calendar and needing those changes reflected back in Notion.

    Final thoughts

    Notion and Google Calendar are built for different jobs — Notion for planning and context, Google Calendar for scheduling and reminders — and that’s exactly why connecting them is worth the setup time. Start simple with Notion Calendar for visibility, layer in automation for the tasks that matter most, and only reach for a dedicated two-way sync tool once you know exactly what “staying in sync” needs to mean for your workflow.