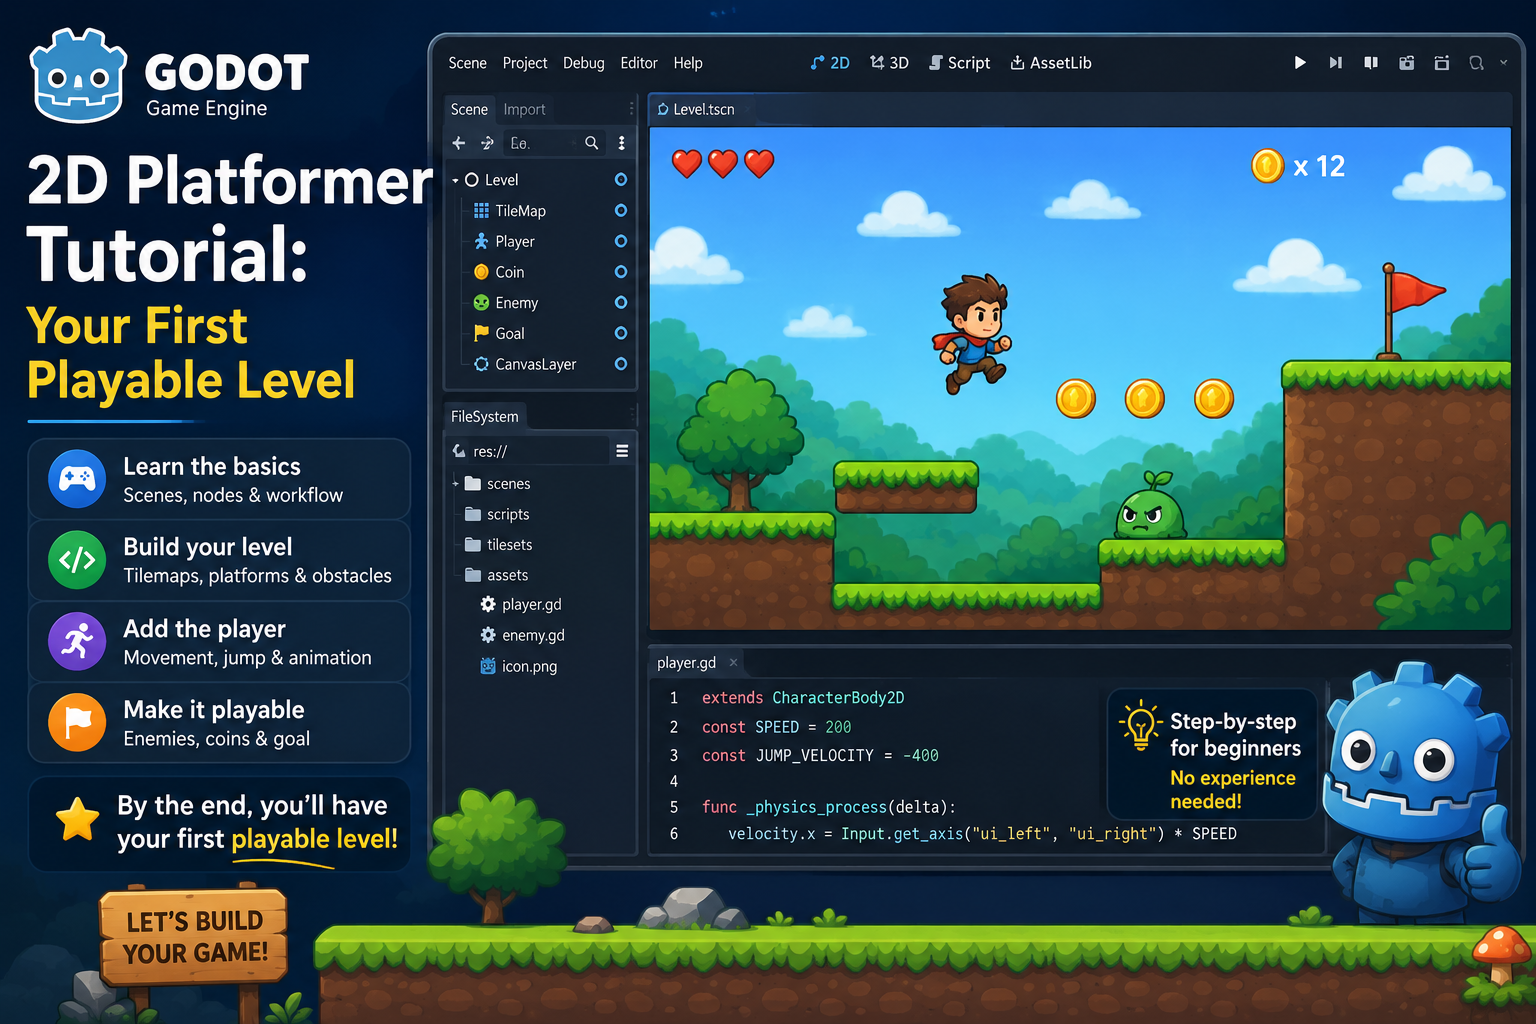
Building your first 2D platformer is the quintessential rite of passage for game developers. While it’s easy to get bogged down in vector math, frame-rate independent physics, and state machines, Godot Engine makes this journey remarkably smooth. Thanks to its node-based architecture and robust 2D physics engine, you can go from an empty window to a responsive, playable level in less than thirty minutes.
This deep-dive tutorial walks you step-by-step through setting up Godot, building ground terrain, creating a physics-based player character, writing clean GDScript movement logic, and connecting camera tracking.
Understanding Godot’s Architecture
Before placing nodes, it helps to understand Godot’s core mental model: Scenes and Nodes.
In Godot, everything is a node. Nodes are small, functional building blocks (such as a sprite display, a collision box, or a audio player). When you combine nodes together in a tree hierarchy, you get a Scene. In Godot, scenes can represent individual entities—like a Player or an Enemy—or an entire compound structure like a game Level.
For our platformer, we will construct two distinct scenes:
Player.tscn: Holds the character’s visual model, collision boundaries, and movement code.Main.tscn: Holds the world geometry, terrain collisions, and an instance of our Player.
Step 1: Setting Up the Level Geometry
First, let’s create the environment where your character can run and jump.
- Open Godot and start a new project.
- In the Scene dock on the left, select 2D Scene as your root node. Rename this node
Main. - Save the scene as
Main.tscn(Ctrl + SorCmd + S). - To create solid ground, add a StaticBody2D node as a child of
Mainand rename itGround. - With
Groundselected, add two child nodes to it:- Sprite2D: Displays your floor texture or placeholder visual.
- CollisionShape2D: Defines the physical boundary that blocks movement.
Main (Node2D)
└── Ground (StaticBody2D)
    ├── Sprite2D
    └── CollisionShape2D
Configuring Collisions
- Select the Sprite2D, go to the Inspector panel on the right, and drag a square/rectangle texture into the Texture slot.
- Select the CollisionShape2D, click on the Shape property in the Inspector, and select New RectangleShape2D.
- Drag the blue handles in the 2D Viewport to align the collision rectangle precisely over your visual ground sprite.
Key Takeaway: A
StaticBody2Dis designed for static objects that do not move under physics forces, such as walls, floors, and solid terrain.
Step 2: Building the Player Character
Godot provides a specialized physics node tailored specifically for controllable characters: the CharacterBody2D. Unlike simple physics objects that bounce around purely based on engine forces, a CharacterBody2D gives you granular control over movement, gravity, and slopes while handling collision resolution automatically.
- Create a New Scene (
Scene -> New Scene). - Choose CharacterBody2D as the root node and rename it
Player. - Add a Sprite2D and a CollisionShape2D as child nodes under
Player. - Assign your player graphic to the
Sprite2D. - Select
CollisionShape2D, assign a CapsuleShape2D or RectangleShape2D, and fit it around your character graphics. - Save this scene as
Player.tscn.
Player (CharacterBody2D)
├── Sprite2D
└── CollisionShape2D
Step 3: Scripting Character Physics with GDScript
Now we need to give our player instructions on how to react to gravity, take user input, and move.
- Select the
Playerroot node inPlayer.tscn. - Click the Attach Script button (the icon shaped like a scroll with a green plus) at the top of the Scene tree.
- Keep the default language as GDScript and click Create.
Replace the contents of the script with the following optimized, fully commented code:
GDScript
extends CharacterBody2D

# Movement Tuning Parameters
const SPEED = 300.0
const JUMP_VELOCITY = -400.0

# Fetch project default gravity vector automatically
var gravity = ProjectSettings.get_setting("physics/2d/default_gravity")

func _physics_process(delta):
	# 1. Apply Gravity when in the air
	if not is_on_floor():
		velocity.y += gravity * delta

	# 2. Handle Jump Input
	if Input.is_action_just_pressed("ui_accept") and is_on_floor():
		velocity.y = JUMP_VELOCITY

	# 3. Handle Horizontal Input Direction (-1 for Left, 1 for Right, 0 for Idle)
	var direction = Input.get_axis("ui_left", "ui_right")
	if direction != 0:
		velocity.x = direction * SPEED
	else:
		velocity.x = move_toward(velocity.x, 0, SPEED)

	# 4. Apply calculated velocity and resolve world collisions
	move_and_slide()
How the Code Works:
_physics_process(delta): Runs every single physics step (fixed frame rate). Always handle movement and physics calculations inside this function rather than standard_process().is_on_floor(): Built-in Godot engine method that returnstrueif your character is currently touching a surface designated as a floor.Input.get_axis("ui_left", "ui_right"): Returns-1.0when pressing the Left Arrow / A key,1.0when pressing the Right Arrow / D key, and0.0when neither is pressed.move_and_slide(): Takes the character’s currentvelocityproperty, moves the body through the world, slides along floors and walls gracefully upon impact, and updatesis_on_floor()flags behind the scenes.
Step 4: Assembling the Level & Camera System
With both scenes created, let’s assemble the complete level and add smooth camera tracking.
- Switch back to your
Main.tscnscene tab. - Click the Instantiate Child Scene icon (the small chain-link icon above the Scene dock).
- Select
Player.tscnfrom your project files to place your player intoMain. - Position the
Playernode slightly above yourGroundobject in the 2D Viewport. - Expand the
Playernode in your main scene, click Add Child Node, and add a Camera2D.
Main (Node2D)
├── Ground (StaticBody2D)
└── Player (CharacterBody2D)
    ├── Sprite2D
    ├── CollisionShape2D
    └── Camera2D  <-- Automatically follows Player
By placing the Camera2D as a child of the Player, the camera locked-on viewport will seamlessly follow your character anywhere they travel within the level.
Step 5: Testing Your First Level
- Press F5 (or the Play icon in the upper-right corner of the editor).
- The editor will ask you to select a main scene if you haven’t set one yet—choose
Main.tscn. - Use the Left/Right Arrow keys (or A/D) to run, and press Spacebar to jump.
You now have a fully functional 2D platformer base built on solid engine practices!
Conclusion: Where to Take Your Godot Platformer Next
Congratulations! You’ve built the foundational framework upon which almost every classic 2D game is constructed. By leveraging CharacterBody2D, handling collision logic, and writing efficient movement scripts using built-in methods like move_and_slide(), you’ve established a clean, scalable starting point.
However, a basic playable level is just the beginning. The real magic of game development lies in turning static prototypes into dynamic gameplay experiences. As you continue your engine journey, here are the natural next steps to take your project forward:
- Refine Movement & Game Feel (“Coyote Time” & Buffer Jumping): Pure physics can sometimes feel stiff. Adding subtle mechanics like Coyote Time (allowing the player a few milliseconds to jump after stepping off a platform edge) and Jump Buffering (registering a jump input slightly before landing) makes movement feel far more forgiving and responsive.
- Implement Animations: Replace static sprites with an
AnimatedSprite2DorAnimationPlayernode. Connect your movement states (is_on_floor(),velocity.x,velocity.y) to switch smoothly between Idle, Run, Jump, and Fall animation sequences. - Expand Environment Mechanics:Replace manual static collision nodes with Godot’s powerful TileMapLayer system to paint complex level layouts easily. Introduce dynamic hazards like spikes, falling platforms, or moving obstacles using
Area2Dsignals to trigger player respawns or health deductions. - Polish with Juice:Incorporate camera smoothing, screen shake on impact, particle effects when landing, and sound effects via
AudioStreamPlayer2Dto give your platformer a distinct visual and auditory personality.
Godot’s modular scene architecture makes expanding your game painless—you can componentize items like collectibles, enemies, and UI interfaces into independent scenes and drop them right into your level. Keep experimenting, test your mechanics frequently, and happy game developing!